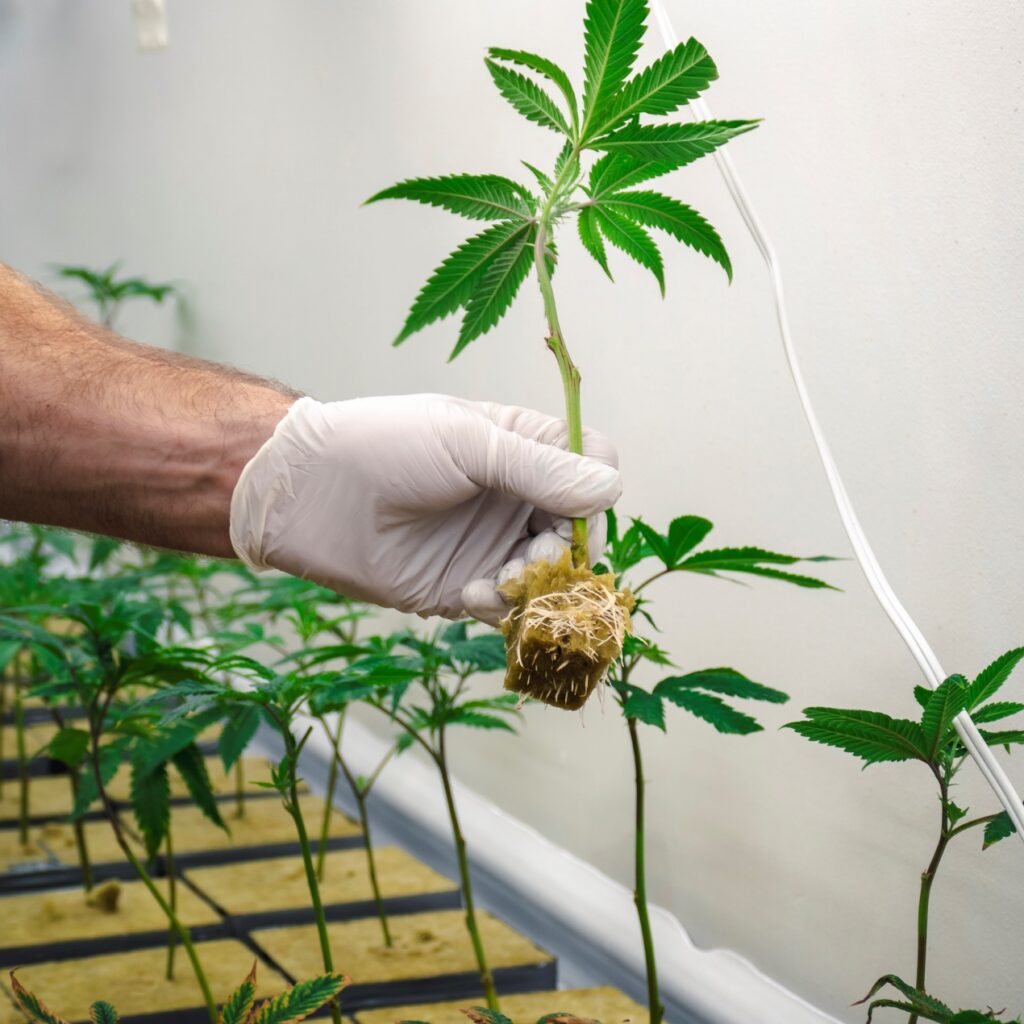
The flowering stage of cannabis production is critical for getting the best out of your harvest. Following the germination and vegetative stages of its lifecycle, the flowering stage is the point when the plant begins to produce flowers, also referred to as the buds. For indoor growers this happens when you switch your lights to a 12/12 light cycle, providing 12 hours of light and 12 hours of darkness to the plant.
During this stage, which lasts anywhere from 7-9 weeks for most strains, the cannabis plant becomes very sensitive to problems, which can affect quality and yields if left unattended. Understanding the various phases of the flowering stage is key to giving plants the care they need for the duration of this sensitive growth period. To know more about what to expect during flowering, here is a closer look at each of its sub-stages.
The First Three Weeks
Switching on your lights to the 12/12 cycle to begin the flowering phase is like mimicking the shorter days of late summer for a cannabis plant in a natural outdoor setting. Uninterrupted darkness is the critical factor in switching on the plant’s internal mechanism for producing flowers.

The flowering stage happens after the germination and vegetative stages
In the first days following the 12/12 switch, plants will begin sprouting at an amazing pace, with many doubling or even tripling in height by the end of this flowering stretch. You will notice a lot of new leaves and stems making an appearance, as plants become stronger and sturdier to support bud production. You will also notice the growth of many small white pistils, which will become the bud sites. During these first three weeks, you must remember to:
- Gradually switch from a vegetative line of nutrients to a blooming line.
- Remove any male plants, as these will not grow buds and will pollinate your female plants, causing them to grow seeds. Male plants can be identified by the pollen sacs they grow instead of pistils.
- Introduce Low Stress Training (LST), where the stems of branches are gently bent down and away from the plant’s centre for a flatter top canopy to allow for better light distribution.

Spreading out bud sites with a flatter canopy can increase cannabis yields by up to 40%
Techniques that Professionals with Cannabis Training Can Apply in Weeks 4-6
By weeks three and four, you will begin to notice that the initial growth spurt is beginning to slow down. At this point, the cannabis plant starts forming its “budlets.” Those who have taken cannabis industry courses will need to be especially vigilant at this time, examining plants for even the smallest signs of problems.
Preserving leaves in these few weeks is necessary, as you will need as many as possible to create the full canopy for absorbing enough light for larger yields. Be on the lookout for symptoms such as:
- Yellowing or discoloured leaves
- Rapid loss of leaves

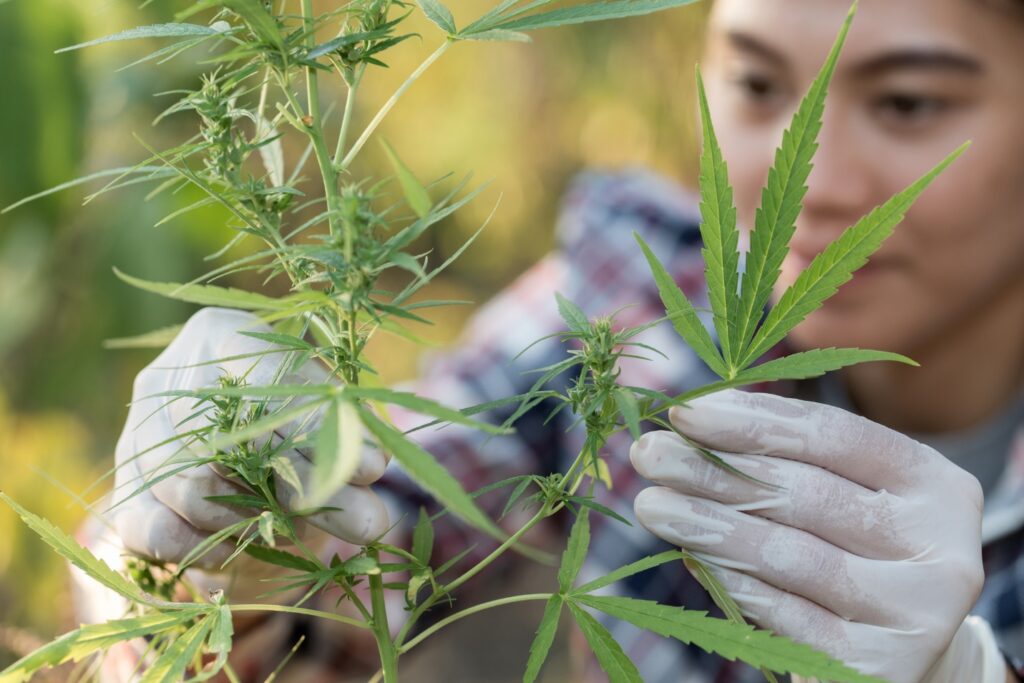
Check leaves frequently during this phase to rule out any possible problems
It’s common to see a few yellowing or discoloured leaves at the base of the plant at this stage of growth, usually due to those areas no longer receiving light. Brownish or yellow-tinged leaves, however, can also be a sign of nutrient burn—where an excess of nutrients has burned the leaves. This condition must be handled by cutting down on feeding to prevent the burn from spreading to other areas of the plant.
The End of the Bloom
The final phase of flowering takes place in weeks 6-8, and is characterized by the ripening of the buds. Most plant strains will be ready for harvest sometime over these final three weeks, with the majority reaching harvest by the eighth week. In these final weeks, those with cannabis training should begin focussing on:
- Flushing the cannabis plants
- Checking plants for the correct harvest time
Taking place two weeks before harvest, cannabis flushing refers to the time when all nutrient feeds stop. This is replaced with pH-balanced water to flush out any salts and minerals in the soil. Flushing is important for producing a purer tasting product.
A small microscope can be used to check the plant’s trichomes for harvest readiness. When the trichomes have turned from a transparent to a milky white colour and eventually to an amber hue with opaque clarity, they are ready for harvest.
Are you interested in taking cannabis retail courses?
Contact the Academy of Applied Pharmaceutical Sciences for more information!


